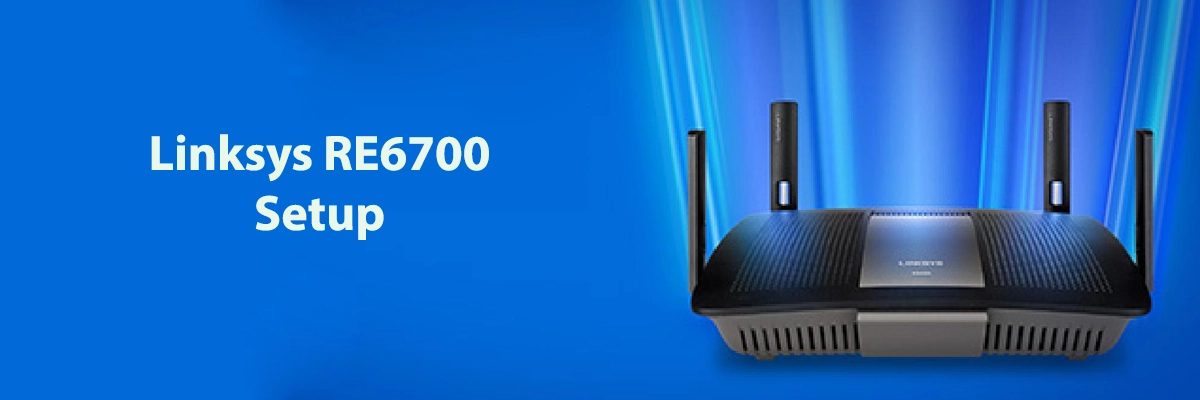
What Is Linksys RE6700 –
Linksys RE6700 is a dual band wi-fi network extender from Linksys. The device can cover up to 10000 square feet of distance. The device can be used with every sort of router. We will talk about Linksys RE6700 Setup in this blog.
The extender works on 2.4Ghz and 5GHz frequencies.
The browser-based setup feature helps make the Linksys RE6700 Setup process even easier. You do not even need to have an installation software or CD to complete the process.
Linksys RE6700 Setup – Steps To Follow –
Before you start off with the Setup, make sure you have an active wi-fi network. And keep the network name or SSID and the password to the network handy.
And since the SSID and the password are case sensitive be careful while filling in the details further in the process.
An important thing you should be careful about is to keep the Linksys RE6700 device closer to the router. Ensure that the device is placed somewhere between the computer and the router. This will strengthen signal.
- Set Up The Hardware O Linksys RE6700 –
Hardware setup of Linksys RE6700 is just as important as all the software setup steps. You have to make sure that all the steps are carefully carried out.
Take out the packaging of the device. The device has 2 antennas on it. straighten these two antennas and plug the power cable into a power outlet.
Once the device has been placed on a stable surface, turn on the power switch. The power led on the extender will light.
- Connect The computer to the extender –
Connect your computer or laptop to the range extender’s default username. The SSID is usually Linksys Extender Setup – xxx. The three x’s at the end represent the device’s MAC address. You can find the MAC address on the device label which is at the backside of the device. The MAC address is a prerequisite for the Linksys RE6700 Setup process.
- Open Extender Setup –
Open a web browser and type http://extender.linksys.com in the address bar. The Setup page will be displayed on the screen. Click ‘Setup’ and move forward to the next step.
- Select The Wi-fi Network –
‘As a wireless range extender’ option will be the default choice once the ‘How do you want to use your range extender’ page pops up on the screen.
- Choose Your Wireless Network –
The nextpage will ask you to select your wireless network from the list of all wi-fi networks available near the device. If you use two bands, that is, both the 2.4GHz and the 5Ghz frequencies, you will see both the band on the screen. Click on your network.
If you have hidden the SSID you can scroll down to the last option labelled, ‘Manually Enter Network Name And Password’
Enter the password in the apt field and click ‘Next’.
- Extender Wireless Network –
You will be directed to the page asking you to configure the extended wireless network. You can change the settings as per your preferences. You can also keep the settings as is. Once done with this step, click ‘Next’.
- Spot Finder –
If the spot finder indicates that the Extender is placed at the right spot, click ‘Next’. The Spot finder tells you if the signal strength is strong or not.
And if the Spot finder indicates that the signal is weak or the device is placed far from the router, you can turn off the extender and take out the power cable and place the device somewhere closer to the router and the computer. The optimum spot for the Extender is mid-way the router and the computer.
Spot Finder does a great job finding the right spot for your Extender to be placed. It will ease the Linksys RE6700 Setup process.
- Secure Your Range Extender –
The next page will ask you to create a new admin name and an admin password. This will help you secure the network even more. You can also add a password hint, which is an optional feature. Once done with this step, click, ‘Save’.
The Linksys RE6700 Setup will be complete here. You will see the ‘Your Extender is setup’ screen. You will see both the frequencies with their respective network names and passwords. You can manage further the Extender features through the ‘Settings’.
