Netgear Nighthawk X6 Setup – The Best For Your Networked Devices
Netgear products encompass a wide variety of technologies used in our day-to-day lives such as WiFi, Ethernet and powerline that is dedicated to reliability and ease-of-use. Netgear Nighthawk router is one of those devices that provides wired and wireless broadband access with your network connectivity at home or office. Netgear Nighthawk X6 Setup is the basic device configuration system which helps you go ahead with perfect syncing of your equipment and devices with guaranteed smooth functioning across the board.
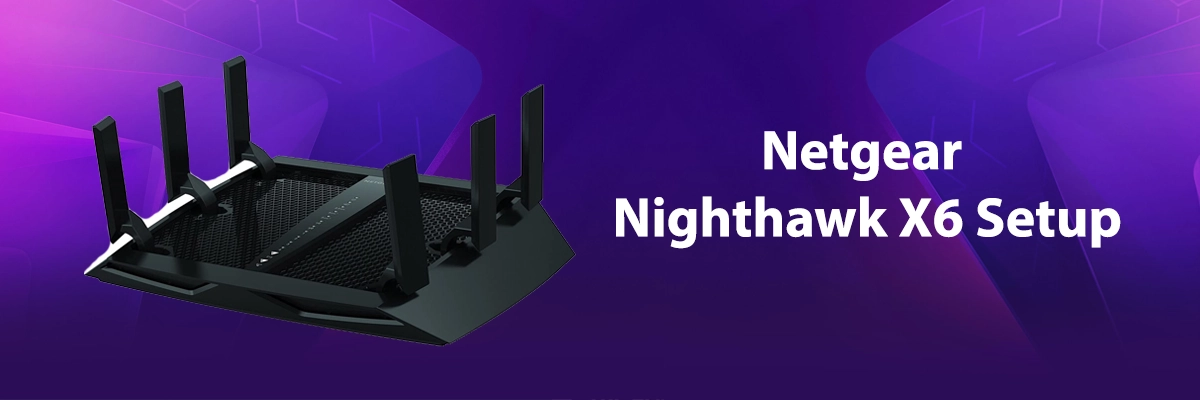
The Netgear Nighthawk X6 is a one of the most well-known routers in the market. Tri-Band connects all devices and machines within your premises over an astonishingly quick network. The multi-functionality router helps you connect many devices – phones, tablets, laptops, TVs and games console – all without losing any speed on simultaneous connections.Get easy step-by-step Netgear Nighthawk X6 Setupfor a quick and smooth start with your devices.
Connect to the Network
You can connect to the Netgear Nighthawk network via a WiFi or wired connection. When set upyour system to use a IP address that is static, you need to configure the settings so that it uses DHCP or Dynamic Host Configuration Protocol.
Netgear Nighthawk X6 Setup – Wired Connection
This is done when you can want to connect your computing devices to the router utilizing an Ethernet cable and link the Netgear Nighthawk router’slocal area network (LAN).
To connect your computer to the Netgear Nighthawk router with an Ethernet cable you need to go through the following steps:
1. Switch on the Netgear Nighthawk router power where you will see its Power LED lit.
2. Link an Ethernet cable to an Ethernet port on your desktop or laptop.
3. With the other end of the Ethernet cable connect to one of the Ethernet ports that are numbered variously.
This way, your computer connects to the LAN network. A message will come up and notify on the computer screen that an Ethernet cable is linked to your Netgear Nighthawk. This is the way to go for a wired Netgear Nighthawk X6 Setup.
Netgear Nighthawk X6 Setup – WiFi Connection
You can connect to the Netgear Nighthawk router with its WiFi network with WPS or Wi-Fi Protected Setup where you canfind and choose the WiFi network.
To utilize the WPS to link to the WiFi network:
1. Ensure that the Netgear Nighthawk router is receiving power that can be seen with Power LED being lit.
2. Now, you need to examine the WPS instructions for your wireless device or computer.
3. Next, you have to press the WPS button on the Netgear Nighthawk router.
4. Within the following two minutes, on your WiFi device or computer, you need to press its WPS button or follow itsinstructions for WPS connections.
Finally, your computer or wireless device links to the WiFi network for a Netgear Nighthawk X6 Setup.
Way To locate and select the WiFi network:
1. Firstly, you need tomake it sure that your Netgear Nighthawk router is receiving power indicated by its power LED.
2. On your wireless device or computer, locate and choose the WiFi network. You will find that the WiFi network’s name is on the Netgear Nighthawk router’s label.
3. Now, join the WiFi network and key in the WiFi password.The password can be found on the label of the router.
This is the way to do Netgear Nighthawk X6 Setup for your wireless and wired devicesfor connecting it to the WiFi network. We are your best help with Netgear Nighthawk X6 Setup when you need expert advice.