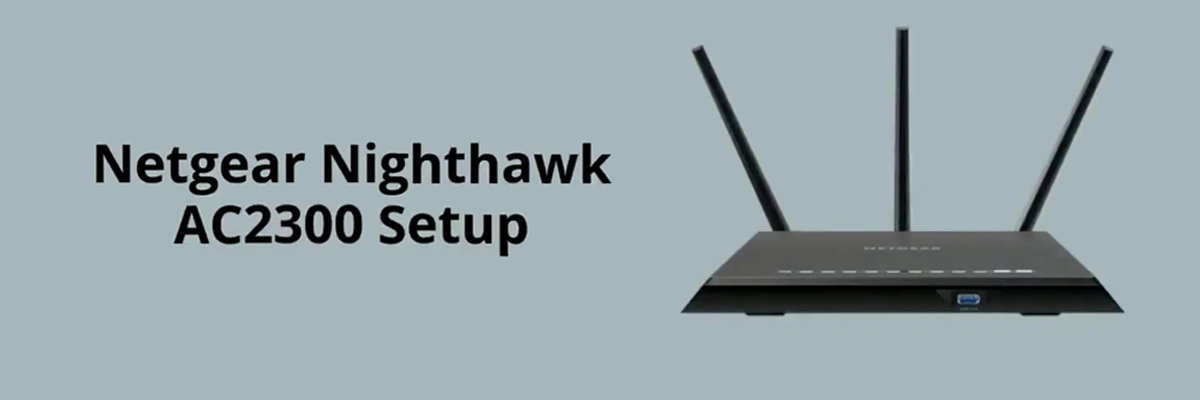
Netgear Nighthawk AC2300 Router
The Nighthawk range of routers from Netgear are designed to be more efficient than other routers. These routers come with more security. The firmware is programmed to fight off all the bugs and security threats. They defend the system from online threats such as trojans, ransomware, spyware and many more.
How To Setup Netgear Nighthawk AC2300 –
If you think Netgear Nighthawk AC2300 Setup process can be grinding, you should take a look at the following methods. These are laid out to make the Netgear Nighthawk AC2300 Setup process easier than ever.
Start off by unpacking the router. One important aspect for Netgear Nighthawk AC2300 Setup is selecting the most effective spot for placing the router.
Try to place the Netgear Nighthawk router at an elevated height. This ensures lesser interference in the signal. Metal objects and other gadgets such as refrigerators, television etc. tend to interfere in the signal. Therefore, select a spot that has less interference.
Also avoid placing the router in corners of the house or office. The signal from the routers move at 360degrees. Hence, placing it in middle of the room is likely to give you better bandwidth and signal.
The Steps For Netgear Nighthawk AC2300 Setup
On the back side of the Netgear Nighthawk router you will see antenna caps. Remove these caps. And attach the three loose antennae to the router. Set the two antennae at the ends at a 45-degree angle.
Now connect the Netgear Nighthawk router to the power source.
The Netgear Nighthawk AC2300 router comes with an ethernet cable. Use this cable to connect the router to the modem. The ethernet port on the Nighthawk AC2300 model is yellow in color.
Next, open the wireless internet setting on your computer. If you are using a Windows computer, you will find the wireless internet setting in the ‘Settings’ section. You can access this by tapping the ‘Windows’ icon and thereby moving to ‘Setting’. Or you can go to the ‘Control panel’.
On the other hand, on macOS, this ‘Setting’ feature is on the top right corner of the screen.
The options of all the nearby wi-fi network will be displayed on the screen. From the ‘Wireless network connection’, choose the Netgear Nighthawk Ac2300.
The unique name assigned to your router can be found on the bottom of the packaging.
The two options alongside will be 5GHz and 2.4GHz. You can choose either. Both will work fine. Although try using the one which is less commonly used. This will ensure less interference in the bandwidth.
The next screen will ask for the network security key, which is the password. Type in the password. The password is usually given along with the router. But in case the password has not been mentioned anywhere, you can register yourself up on the website and retrieve the password thereof.
Open a web browser and go to the setup page. If in case you are unable to open the setup page, you can use routerlogin.net to access the setup page.
Secure The Router –
The Netgear Nighthawk routers come with default password. Although these passwords are safe, you are still advised to change it to make it more even safe.
You can change this secure password while the Netgear Nighthawk AC2300 Setup is in process.
Changing the password will lessen the chances of security breach. This is how you can change the security settings –
Go to the ‘Admin Account Settings’ head and enter in the username, which is generally ‘admin’ and the ‘New password’. As is the security condition, you will be asked to re-enter the new password. Type in the password.
For advanced security feature, you will be asked to answer two security questions. Answer them both and click ‘Submit’.
You will be directed to the next screen where various router applications will be displayed. If you wish to install them, lick the check boxes. Once done with this, you can move ahead. Click ‘Next’.
Next, the router will check for firmware updates. If the updates are available, you can download and install them from there. Whatever the case, click ‘Ok’ once finished with this step. Updating the firmware plays an important role in the Netgear Nighthawk AC2300 Setup process.
The next page will indicate that the installation process is complete.
Thereon go back to the routersettings.net.And login with the username and the new password. Once you have filled in the username and the password, click ‘Login’.
This will direct you to the Netgear genie screen. On the left-hand side, you will see number of settings. From among these options, select ‘Wireless’. You will be instructed to enter the new SSID and the password. Once you have typed in these details, select ‘Apply’.
Now connect to the network. Since you have renamed it, it is vital that you reconnect to the network.
The Netgear Nighthawk AC2300 Setup is complete.

